Four steps to creating an eHive record
The eHive Create screen can be overwhelming. There are so many fields to fill out and different tabs to choose from. The good news is that you do not have to fill out every page or field.
You can return to a record whenever you like and add more details over time. You can even keep it private or save a draft until you choose to put it online.
All you need are 4 things.
- A name or title
- A brief description
- A location
- An image (No more than 1000 pixels on the longest side)
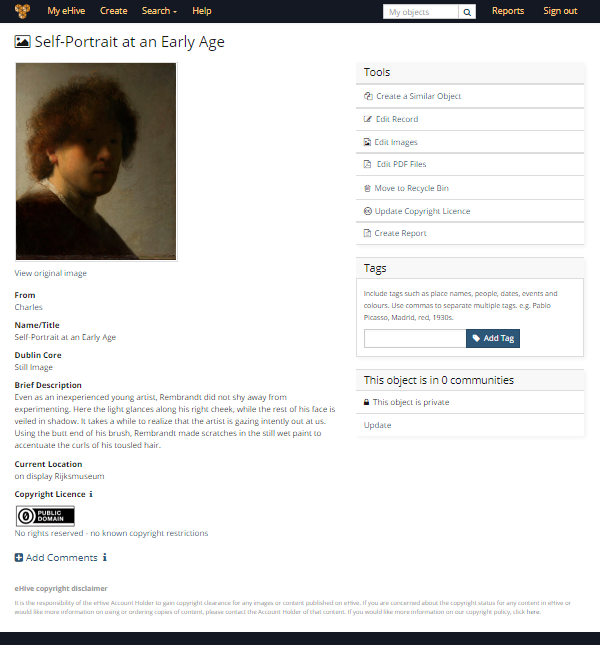
As an example let’s catalogue Rembrandt’s Self-Portrait at an Early Age. The original Rijksmuseum record has extensive information about the painting, 28 fields in 9 sections. While we are only looking for specific information, it is useful to see what information they have chosen to make public.
Creating our eHive object record
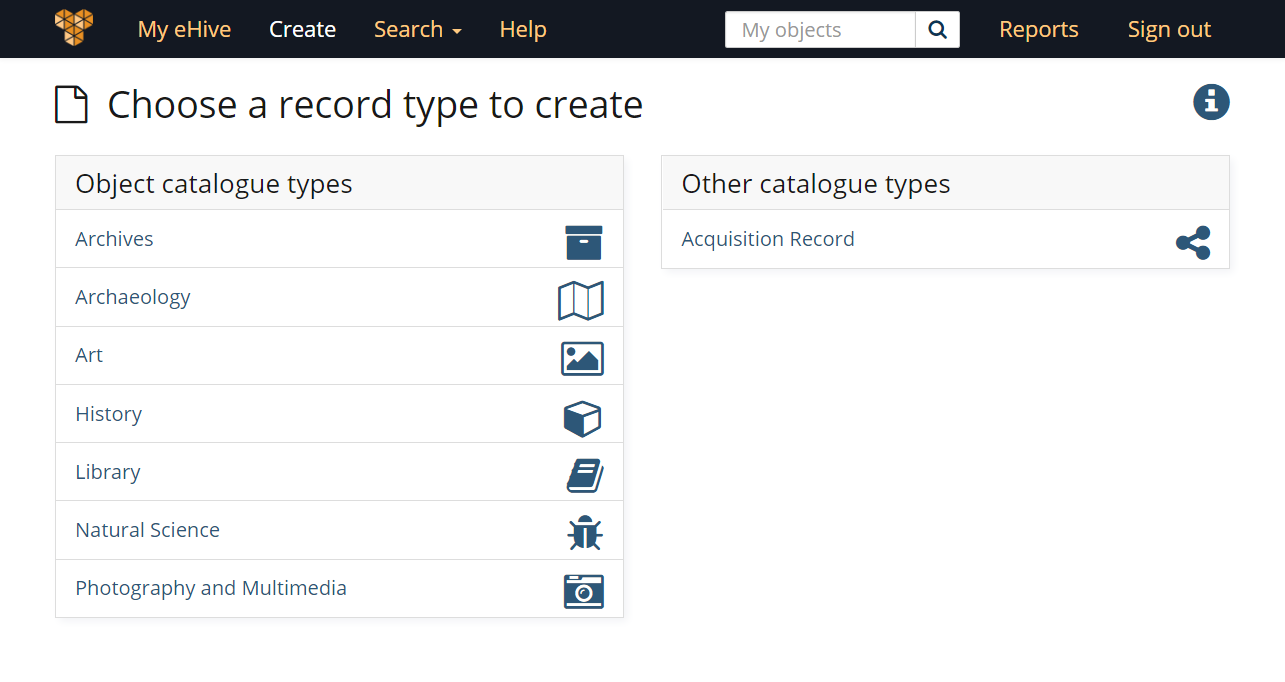
From your eHive account screen choose to Create New Records and we will choose Art as that is the most appropriate from our Rembrandt Self Portrait. We will go directly to Core Fields tab to begin.

Our first piece of information is for the Name/Title field where we will enter “Self-Portrait at an Early Age”.
This is followed by filling out the Brief Description. So far, so good.
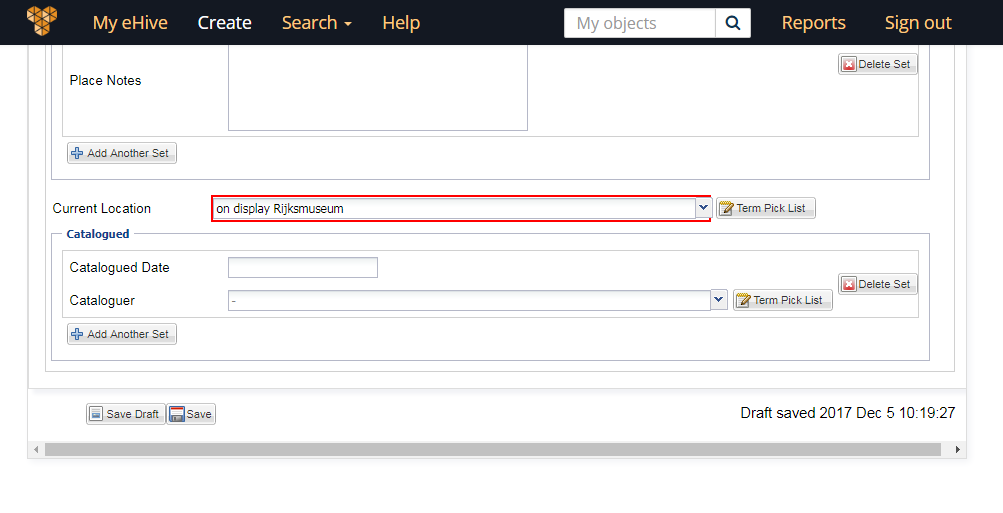
Now we add the Current Location. If we simply type the text in the Current Location Field then a red outline appears and the text “The term must exist in the list” can be seen when you roll over the field.
What we need to do is click on the Term Pick List button at the end of the field and add our new location of “Storeroom”. Once the new location is entered you will be able to choose it as an option.
Now that you have created a new location of “Storeroom” you can select the term and save the record by clicking the save button at either the bottom or the top of the page.
Add an image
We are almost there. The last step is to include an image. From the record page choose Edit Images. This leads to a screen where we can drag and drop our Rembrandt. Remember to reduce the size of the image before adding it to eHive.
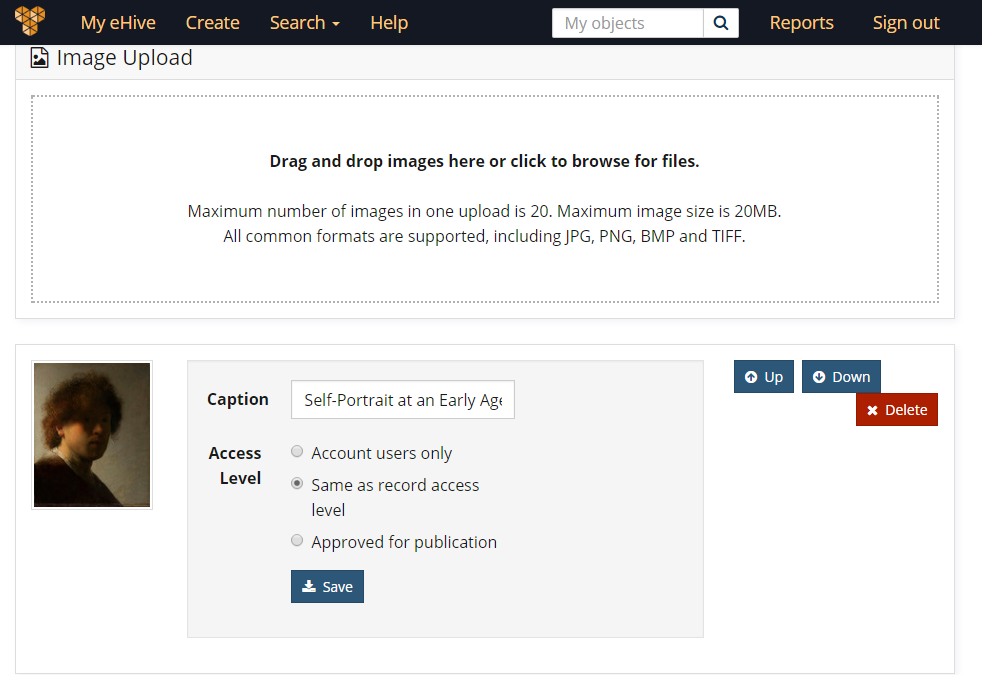
There are options to restrict the image’s access level, but we do not need to make any changes. We will leave it set on “Same as record access” and return to the object record.
That is everything
Congratulations. You have created your first object record. It is able to be published as it is, modified or added to in the future.
Good luck with your own collection in eHive.
